

Latest Version
Download NowMore About Epson Stylus D120 Adjustment Program
Epson Stylus D120 Adjustment Program: A Comprehensive Guide
The Epson Stylus D120 is a robust and efficient inkjet printer renowned for its speed and high-quality outputs. However, like many printers, it occasionally requires maintenance to ensure optimal performance. This is where the Epson Stylus D120 Adjustment Program comes into play. This specialized tool allows users to reset, calibrate, and fine-tune various printer functions, restoring efficiency and extending the device's lifespan.
What is the Adjustment Program?
The Epson Stylus D120 Adjustment Program is a utility designed to perform intricate maintenance tasks. It offers functionalities that go beyond standard troubleshooting, addressing issues such as:
- Waste Ink Pad Counter Reset: This resolves the "waste ink pad full" error, a common problem in inkjet printers.
- Head Alignment and Cleaning: Ensures precise ink application and eliminates streaks or misalignment in prints.
- EEPROM Data Management: Adjusts and resets printer memory for optimized performance.
- Sensor Calibration: Fine-tunes sensors for better paper detection and feeding.
- Error Code Analysis: Diagnoses and rectifies hardware and software malfunctions.
Why Use the Adjustment Program?
The Epson Stylus D120 Adjustment Program is an indispensable tool for both home and professional users. Here’s why:
- Cost-Effective Solution: Avoids expensive repairs or part replacements by addressing software-related issues.
- User-Friendly Interface: Designed for ease of use, even for those without technical expertise.
- Comprehensive Diagnostics: Identifies hidden issues that might affect long-term printer functionality.
Steps to Use the Epson Stylus D120 Adjustment Program
Follow these steps to use the program effectively:
1. Download the Software
The program can be obtained from trusted online sources. Ensure you download it from a reputable website to avoid malware.
2. Install the Program
- Extract the downloaded files to a folder on your computer.
- Run the executable file as an administrator to install the software.
3. Connect Your Printer
- Turn on the Epson Stylus D120 and connect it to your computer via a USB cable.
- Ensure the printer driver is correctly installed.
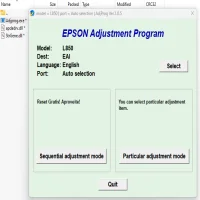
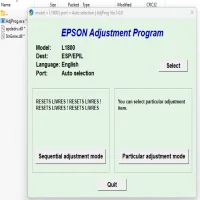
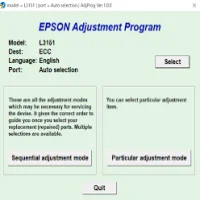
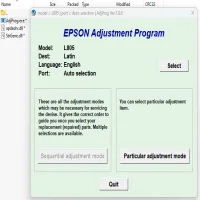
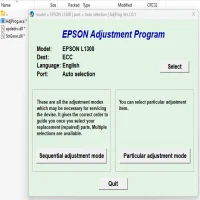
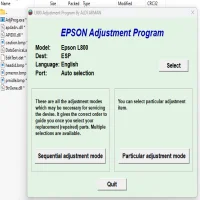
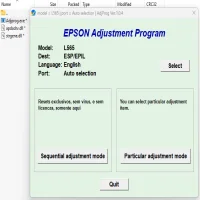
4. Launch the Adjustment Program
- Open the program and select your printer model (Epson Stylus D120).
- Choose the function you wish to perform (e.g., waste ink pad reset, head cleaning).
5. Follow On-Screen Instructions
The program will guide you through the selected maintenance process. Be sure to follow the steps carefully.
6. Restart the Printer
Once the adjustments are complete, restart your printer to apply the changes.
Precautions and Tips
- Use Official Software: Avoid pirated versions, as they may contain viruses or function improperly.
- Backup Settings: If possible, back up your printer's current settings before making adjustments.
- Handle with Care: Some functions, such as EEPROM data changes, can irreversibly affect your printer. Proceed only if you understand the process.
Conclusion
The Epson Stylus D120 Adjustment Program is a powerful tool for maintaining your printer’s performance. Whether you're resetting the waste ink counter, calibrating print heads, or diagnosing issues, this utility ensures that your printer operates smoothly and efficiently. By using it responsibly and adhering to best practices, you can extend the life of your Epson Stylus D120 and enjoy hassle-free printing for years to come.
Rate the App
User Reviews


Popular Apps