
Latest Version
More About Epson EP-603A Resetter
Epson EP-603A Resetter: Unlocking the Full Potential of Your Printer
The Epson EP-603A is a popular inkjet printer known for its efficiency, reliability, and print quality, making it a go-to choice for both home and office use. However, like many other Epson printers, the EP-603A is designed with a built-in counter that tracks the printer's waste ink reservoir. Over time, this reservoir can fill up, triggering an error that prevents further printing. The Epson EP-603A resetter tool offers a solution, allowing users to reset this counter and extend the life of their printer.
What Is the Epson EP-603A Resetter?
The Epson EP-603A resetter is a software utility designed to reset the printer's waste ink counter. It works by sending a signal to the printer’s internal chip, instructing it to disregard the waste ink counter readings and start fresh. This essentially resets the printer’s maintenance cycle, allowing it to continue operating without encountering the waste ink full error.
While the printer’s internal waste ink tank fills over time with ink residue from print head cleaning and other maintenance tasks, it’s not uncommon for users to find themselves encountering the “waste ink tank full” error before the tank has reached its maximum capacity. In such cases, the resetter tool becomes invaluable.
Why Use an Epson EP-603A Resetter?
There are several reasons why you might want to use a resetter for your Epson EP-603A printer:
Save on Maintenance Costs: Instead of taking your printer to a service center or replacing it prematurely, using the resetter tool can extend its life. You can avoid costly repairs and get more printing time out of your device.
Prevent Printer Downtime: When the waste ink counter hits its limit, the printer will stop working. The resetter tool lets you continue printing without waiting for a technician or having to perform complicated repairs.
Increase Printer Longevity: Regular use of the resetter can keep your printer in peak condition, reducing the wear and tear on its components and ensuring consistent performance.
How to Use the Epson EP-603A Resetter
Using the Epson EP-603A resetter is relatively straightforward, but it’s important to follow each step carefully to avoid damaging your printer. Here’s a step-by-step guide:
Download the Resetter Software: Search for a reputable source to download the Epson EP-603A resetter software. Make sure it’s compatible with your operating system (Windows or macOS) and that it’s from a trusted website to avoid malware or other issues.
Connect Your Printer to Your Computer: Make sure your Epson EP-603A printer is turned on and properly connected to the computer via USB.
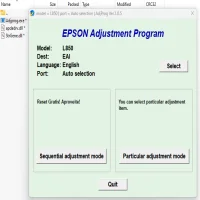
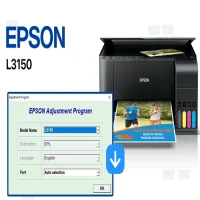
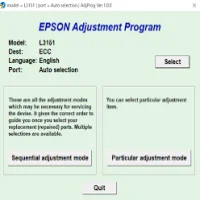
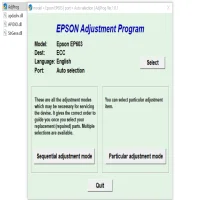
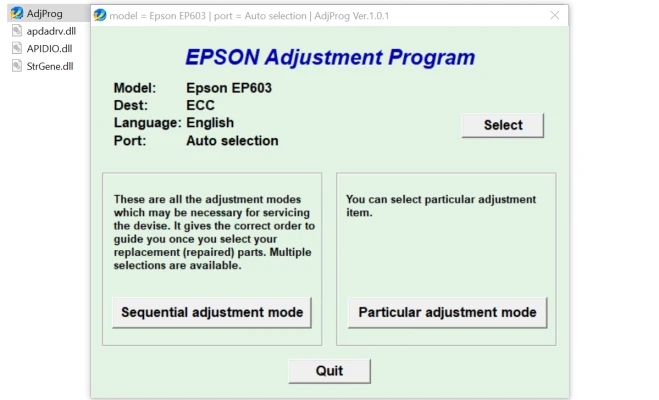
Install and Launch the Resetter: Install the resetter software on your computer. Once installed, open the software.
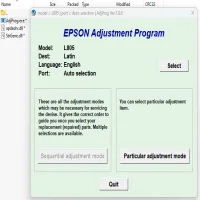
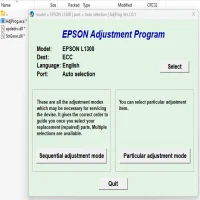
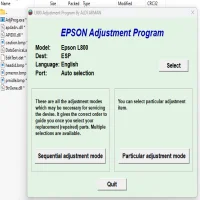
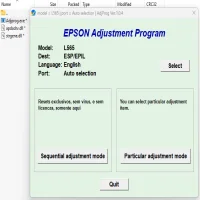
Select the Printer Model: In the resetter software, you’ll need to select the Epson EP-603A from the list of available printer models.
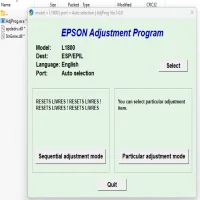
Start the Reset Process: Follow the on-screen instructions to initiate the reset process. Typically, you will need to select a “Waste Ink Pad Reset” option and click “Reset.”
Wait for the Process to Complete: The reset process can take a few minutes. Once it’s done, the software will notify you that the reset has been successful.
Test Your Printer: After the reset, print a test page or document to ensure everything is functioning properly. The “waste ink full” error should no longer appear, and the printer should be ready for continued use.
Cautionary Notes
While using the resetter tool is a great way to keep your printer running smoothly, there are a few things to keep in mind:
- Waste Ink Tank: The resetter doesn’t physically empty the waste ink tank. If the tank is truly full, it’s essential to manually clean or replace it to avoid ink overflow.
- Risks: If you reset the waste ink counter without addressing the actual waste ink buildup, it may result in ink spillage or internal damage over time.
- Legal Considerations: Using third-party software like a resetter may void your printer’s warranty. Always check with Epson’s support to understand any implications before proceeding.
Conclusion
The Epson EP-603A resetter is an essential tool for anyone looking to extend the life of their printer. By resetting the waste ink counter, you can prevent downtime and costly repairs, ensuring your printer continues to perform optimally. However, it’s crucial to monitor the physical condition of the printer’s waste ink tank to avoid any long-term damage. With the right care and attention, the Epson EP-603A can continue delivering high-quality prints for years to come.
Rate the App
User Reviews


Popular Apps