Latest Version
More About Epson EP-801A Resetter
Epson EP-801A Resetter: Everything You Need to Know
The Epson EP-801A is a versatile inkjet printer designed for home and office use, offering high-quality prints, wireless connectivity, and a range of convenient features. However, like many Epson printers, the EP-801A may encounter an issue known as the "waste ink pad error." This problem arises when the printer’s internal ink pads reach their maximum capacity and can no longer absorb excess ink during printing and cleaning cycles. When this happens, the printer may stop working and display a "waste ink pad full" error.
In this article, we’ll explore how to reset the Epson EP-801A printer to resolve this issue, allowing you to continue using your printer without having to replace the ink pads immediately.
What is the Epson EP-801A Resetter?
The Epson EP-801A Resetter is a software tool designed to reset the printer’s waste ink counter. This counter tracks the amount of ink absorbed by the waste pads during the printer’s operation. When the counter reaches its limit, the printer halts, signaling the need for maintenance. The reset tool essentially "clears" the counter, tricking the printer into thinking that the waste ink pads have been replaced, thus allowing you to use the printer without any issues.
How Does the Epson EP-801A Resetter Work?
The Epson EP-801A Resetter works by communicating directly with the printer’s internal software. After running the reset tool, the waste ink counter is reset to zero, and the printer will no longer display the "waste ink pad full" error. It’s important to note that this tool does not physically clean or replace the waste ink pads; it simply resets the counter.
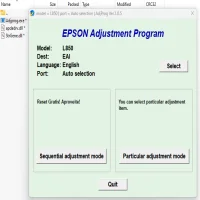
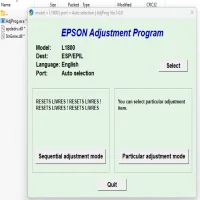
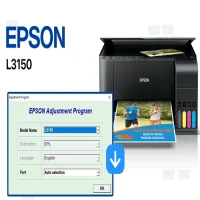
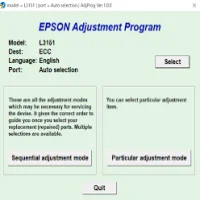
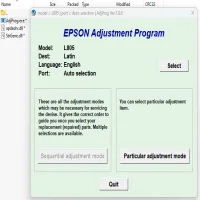
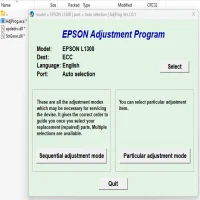
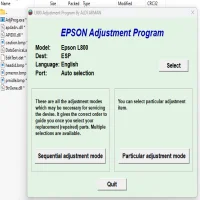
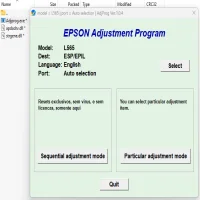
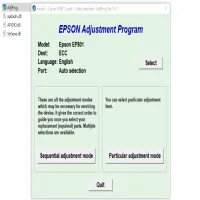
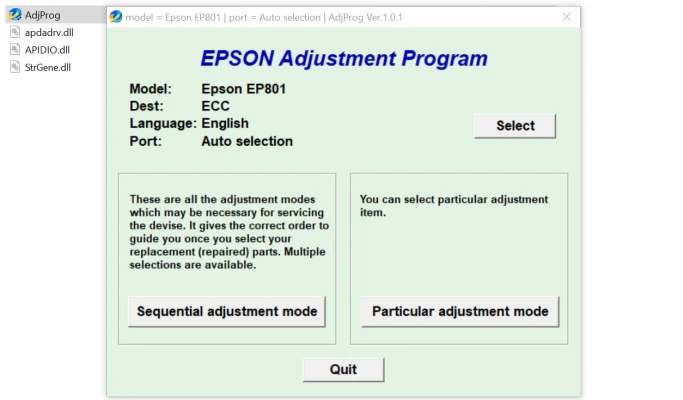
Steps to Use the Epson EP-801A Resetter
Download the Epson EP-801A Resetter Software: To begin the reset process, you need to download the correct resetter tool for the Epson EP-801A printer. These tools are available online, but be sure to download from reputable sources to avoid malicious software.
Connect the Printer to Your Computer: Ensure that the Epson EP-801A is connected to your computer via USB or over a wireless network. The printer must be turned on during the reset process.
Run the Resetter Software: Once the software is downloaded and installed, open the resetter program on your computer. The tool will automatically detect your Epson printer if it is properly connected.
Select the Correct Model: In the resetter software, select the Epson EP-801A from the list of available printers.
Enter the Reset Mode: Follow the on-screen instructions to enter the reset mode. This will involve selecting the waste ink pad reset option from the menu.
Complete the Reset: Once you’ve selected the reset option, the software will reset the waste ink counter. Wait for the confirmation message that the process has been successfully completed.
Restart the Printer: After the reset is complete, restart your Epson EP-801A printer. The waste ink pad error should no longer appear, and the printer will return to normal functionality.
Precautions and Considerations
While the Epson EP-801A Resetter is an effective tool for resolving waste ink pad errors, it’s important to understand the limitations of resetting the counter. Here are some things to consider:
- Temporary Solution: Resetting the waste ink counter is a temporary fix. The waste ink pads still need to be replaced eventually. If the pads are left too full, it can cause ink leakage or damage to the printer.
- Avoid Overuse of the Resetter: Repeatedly resetting the counter without addressing the actual issue (i.e., replacing the waste ink pads) can lead to long-term problems, such as ink leakage or other damage to the printer.
- Warranty Issues: Using a resetter tool may void your printer’s warranty, as it involves bypassing the manufacturer's safety protocols. Always check your warranty terms before using this method.
Final Thoughts
The Epson EP-801A Resetter is a valuable tool for resolving waste ink pad errors, allowing users to get back to printing quickly without having to replace the ink pads immediately. However, it should be used cautiously and only as a temporary solution. Replacing the waste ink pads when necessary will ensure the continued longevity of your printer. If you're unsure about the process or don't feel comfortable using the resetter, it’s always best to seek professional help or consult Epson support for advice.
By properly maintaining your Epson EP-801A, you can continue enjoying high-quality prints for years to come.
Rate the App
User Reviews


Popular Apps