Latest Version
More About Epson L100 Reset Utility Adjustment Program
Epson L100 Reset Utility Adjustment Program: A Complete Guide
The Epson L100 printer, a popular model known for its affordability and efficient printing, occasionally requires a reset for maintenance purposes. One of the most common reasons for needing a reset is the accumulation of waste ink, which can trigger error messages or halt printing altogether. This is where the Epson L100 Reset Utility Adjustment Program comes in handy. It is a tool that allows users to reset the printer’s waste ink counter and address various maintenance issues.
What is the Epson L100 Reset Utility Adjustment Program?
The Epson L100 Reset Utility is a software tool that serves as a vital solution for users facing problems with their Epson L100 printer. The program is specifically designed to help reset the waste ink counter, fix issues related to the printer’s ink pads, and resolve other errors that may prevent proper printer operation. While it is not an official utility released by Epson, it is widely used by technicians and advanced users to extend the life of the printer.
Why You Might Need the Epson L100 Reset Utility
The Epson L100, like many Epson printers, is equipped with an ink waste counter. The printer’s software monitors the amount of ink waste produced during printing, primarily from the cleaning cycle of the printhead. Once this waste ink exceeds a certain level, the printer may display an error message, such as “Service Required,” or it may stop printing altogether. This happens to prevent the ink pads from overflowing and causing damage.
To address this, the Epson L100 Reset Utility can be used to reset the waste ink counter, allowing the printer to continue operating. Additionally, the tool can fix other printer errors related to the ink system, such as printhead issues, cartridge recognition problems, or poor print quality.
Features of the Epson L100 Reset Utility Adjustment Program
- Waste Ink Reset: The primary function of the utility is to reset the waste ink counter, allowing users to clear errors and continue using the printer.
- Printhead Cleaning: It can also help clean the printhead by running through a series of cleaning cycles, which may help restore print quality.
- Error Code Fixes: It resolves specific error codes that may appear due to ink-related issues, helping the printer return to normal operation.
- Ink Pad Reset: Some versions of the utility allow users to reset the ink pad counter, preventing the printer from prematurely halting due to ink pad overflow.
How to Use the Epson L100 Reset Utility Adjustment Program
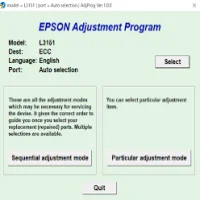
Before proceeding with the reset process, ensure that the printer is connected to your computer, and follow the steps below:
-
Download and Install the Utility: The first step is to download the Epson L100 Reset Utility from a trusted source. After downloading, install the program on your computer by following the installation prompts.
-
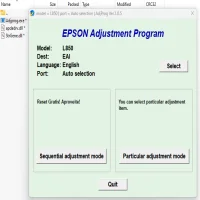
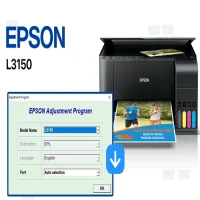
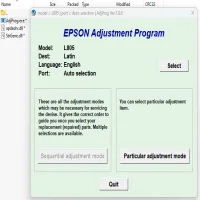
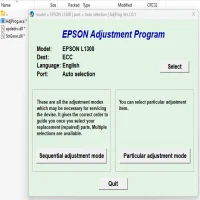
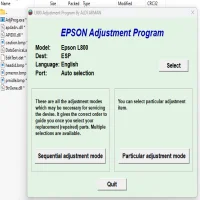
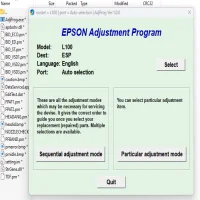
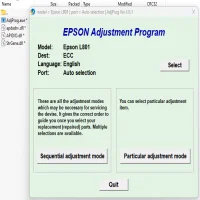
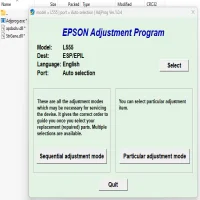
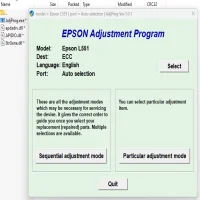
Run the Program: Launch the Epson L100 Reset Utility. Ensure that your printer is connected and powered on. The program will automatically detect the printer.
-
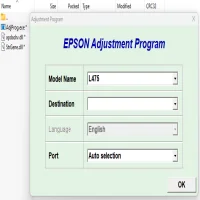
Select the Printer Model: The utility will ask you to select your printer model (Epson L100). Choose it from the list of available devices.
-
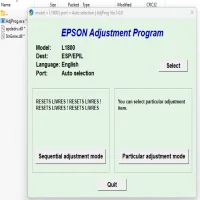
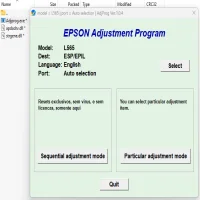
Reset Waste Ink Counter: Once the program is ready, locate the option to reset the waste ink counter. Select it and proceed with the reset. The process may take a few minutes.
-
Perform Printhead Cleaning (Optional): After resetting, you can use the utility to perform printhead cleaning or other maintenance tasks to ensure the printer operates optimally.
-
Check Printer Status: After completing the reset, check your printer’s status. If there are no error messages and it’s printing correctly, the reset was successful.
Important Notes and Precautions
- Use Caution: The Epson L100 Reset Utility is not officially supported by Epson, so there is a risk of using an unreliable tool. Always download the utility from trusted websites.
- Waste Ink Pads: Resetting the waste ink counter does not physically clear the ink pads; it simply resets the counter. If your printer shows signs of ink leakage or spills, the ink pads may need to be cleaned or replaced.
- Backup: Before making any adjustments or resets, it’s a good idea to back up any important documents and settings to avoid data loss.
Common Issues Resolved by the Epson L100 Reset Utility
- Waste Ink Counter Error: A common problem where the printer stops working because the waste ink counter is full.
- Printhead Alignment Problems: Misalignment or clogged printheads can be addressed by running the printhead cleaning feature.
- Ink Cartridge Errors: If your printer is having trouble recognizing ink cartridges or producing poor print quality, the utility can help resolve some of these issues.
Conclusion
The Epson L100 Reset Utility Adjustment Program is a valuable tool for users facing waste ink counter errors or other printer-related issues. While not officially endorsed by Epson, it provides an effective way to reset the waste ink counter and maintain the printer’s performance. As long as you use the utility carefully and follow proper procedures, it can extend the life of your Epson L100 printer and keep it running smoothly.
If you continue to face issues even after using the reset utility, it may be time to consult a professional technician or consider replacing parts like the ink pads or printhead.
Rate the App
User Reviews

Popular Apps